
Why Build a Home Lab for Security Testing?
In the Cyber Security field, theoretical and book knowledge pales in comparison to the insight gained from hands-on experience and doing the thing. This article kicks off a series dedicated to those wanting to get started in this field, or those who are already working in the field but want to follow along, through the construction of a Home Lab centered on cybersecurity research and testing.
Leveraging a mini PC such as the one I mentioned in my Home Automation Series, running the latest version of Proxmox VE (community edition), build out the foundation of what can become a very powerful Home Lab environment for testing, learning and related activities.
Home Lab for Cyber Security - Core Build
The cybersecurity landscape is a perpetual battlefield, evolving with every technological advancement. A Home Lab not only serves as a personal sandbox for testing theories and tools but also as a crucible for honing the skills required to navigate this complex domain. The creation of such a lab, featuring a Proxmox VE base, provides a resilient and flexible foundation for virtualization, allowing for the deployment of a range of operating systems and applications pivotal to cybersecurity practice.
Enter Proxmox - The foundation of the Home Lab
Proxmox Virtual Environment (VE) stands at the forefront of open-source server management platforms, offering a robust solution for the virtualization of both operating systems and applications. Its community edition lays the groundwork for our Home Lab, enabling the management of KVM (Kernel-based Virtual Machine) for virtual machines (VMs) and LXC (Linux Containers) for lighter, more efficient containerization. This platform is chosen for its scalability, extensive feature set, and active community support, making it an ideal candidate for cybersecurity research. If you want, I have written an article for installing Proxmox for a Home Assistant setup which gives some background as well.
Lab Components & Objectives
There is literally no end of tools you can deploy in this type of Home Lab environment, and these are ones I have picked to show how to deploy different types of solutions within the lab. Once you have done these examples, you will have a better handle on how to find, deploy and manage nearly any system or tool available. My proposed setup includes the following tools and environments:
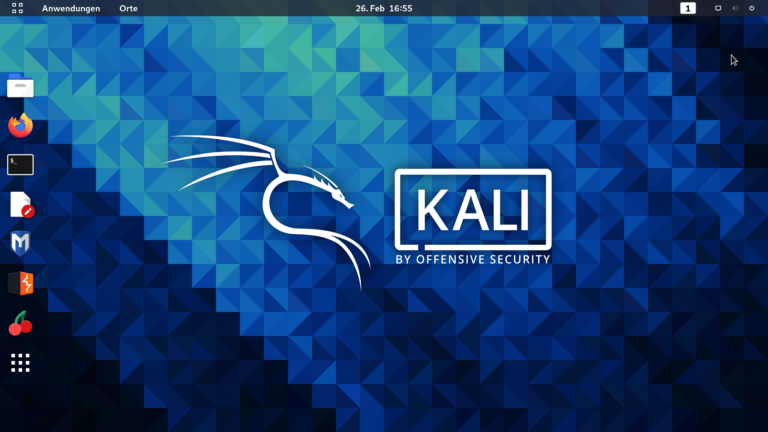
- Kali Linux VM: Kali is a Debian-based Linux distribution designed for digital forensics and penetration testing. It comes pre-equipped with numerous tools for assessing and exploiting security vulnerabilities.
- Cloudflare Tunnel LXC: The Cloudflare Tunnel container will facilitate secure and private connections between the internet and internal services without exposing them publicly. It would be ironic if your Security Lab was being accessed insecurely, no?
- Uptime Kuma LXC: Uptime Kuma is an open-source monitoring tool to keep tabs on the uptime of various services within the lab. This serves as an example on how to deploy other Proxmox LXC Containers.
- Docker and Portainer: Docker is a platform for developing, shipping, and running applications in containers, while Portainer simplifies Docker container management. This setup is critical for deploying and managing vulnerable applications and operating systems for testing purposes.
The configuration of these components within a Proxmox VE environment, augmented by the utilization of tteck’s Proxmox helper scripts, aims to streamline the setup and management process, affording users more time for the core activities of exploration and learning.
My Goals For this Series
Through this series, I aim to simplify and clearly explain the process of setting up a sophisticated cybersecurity Home Lab, ensuring each step is comprehensible and actionable. From the initial Proxmox VE installation to the deployment of various containers and VMs, I will provide a thorough guide that balances technical depth with clarity. The objective is to empower you to not only replicate this setup but also understand the rationale behind each component’s inclusion and configuration.
If you have questions on any of the topics, don’t worry, ask them in the comments sections — its what they exist for 👍🏻.